Harish Projects
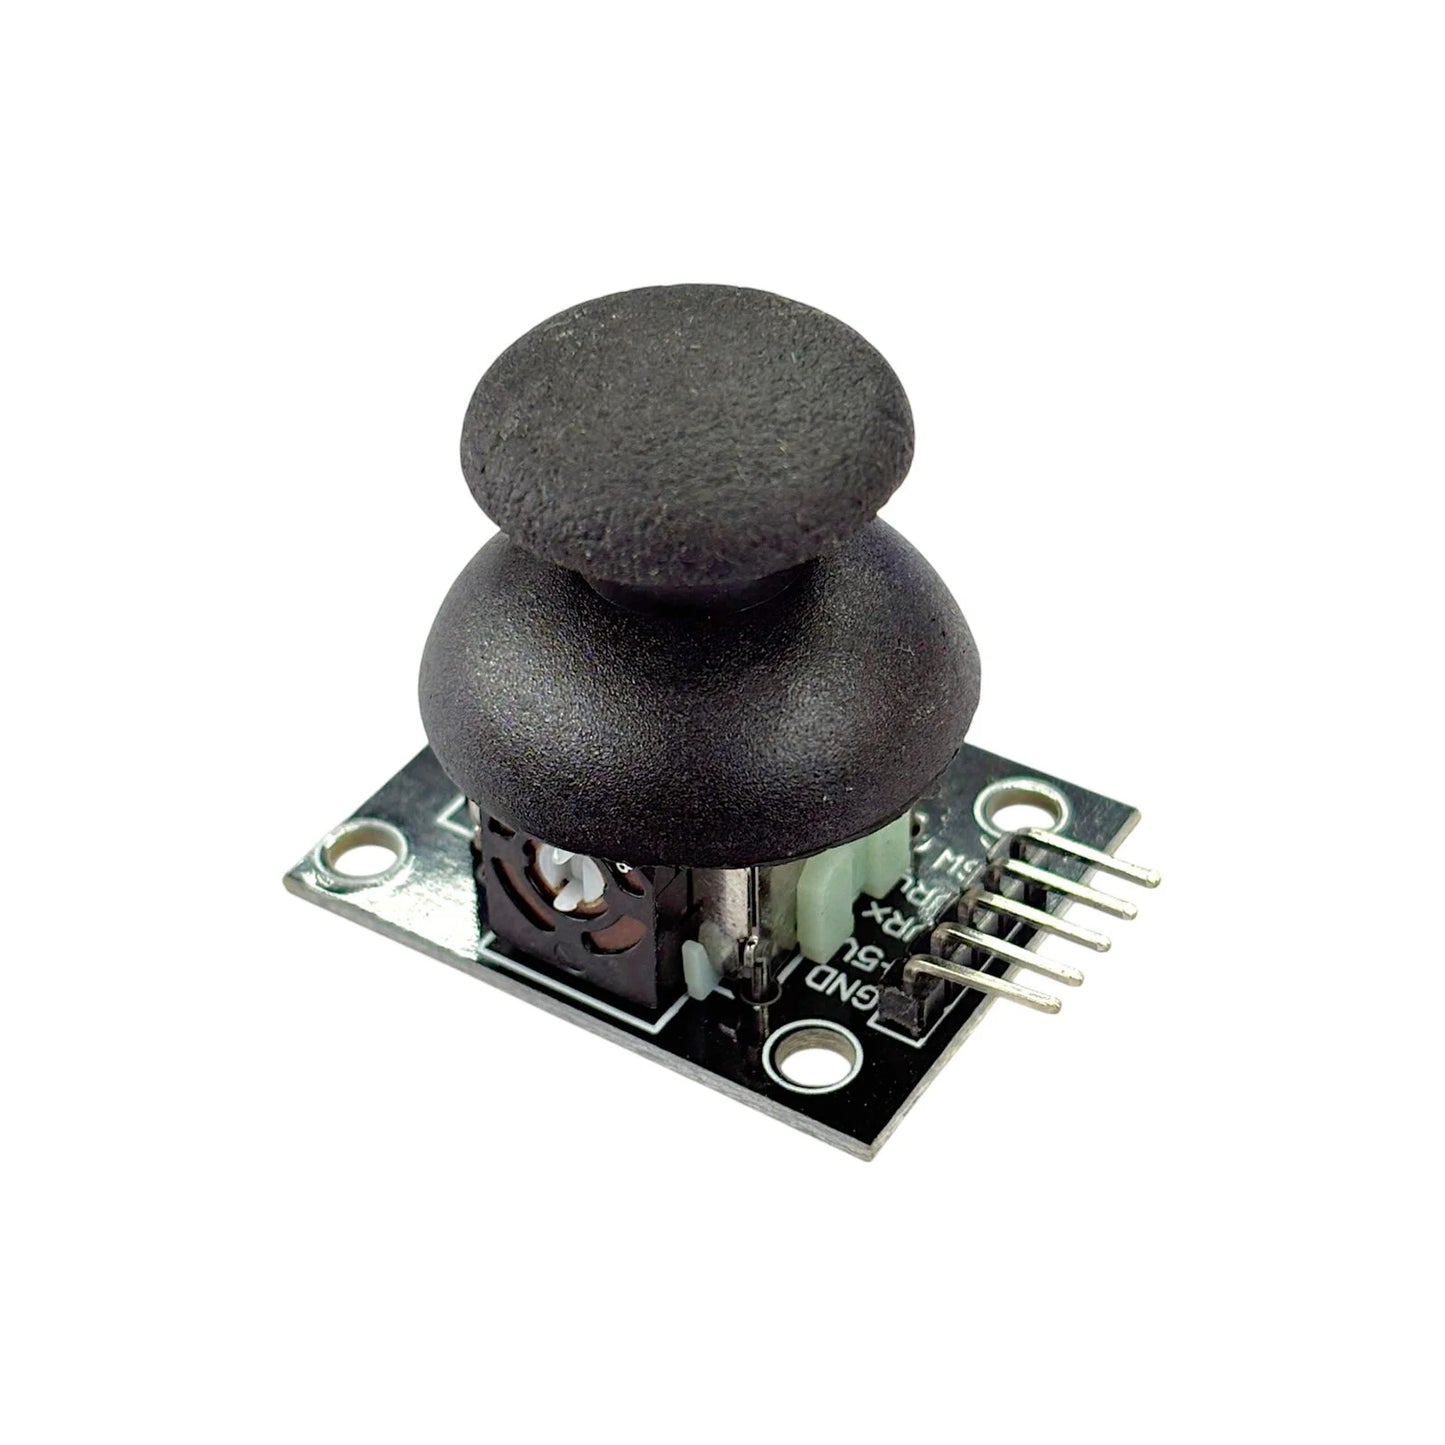
Joystick Module Dual Axis XY for Arduino High Quality / Robotics Arm / Game Joystick
Joystick Module Dual Axis XY for Arduino High Quality / Robotics Arm / Game Joystick
Couldn't load pickup availability
Share
Specification
- Dual Axis : XY
- Voltage : 3V to 5V
Description
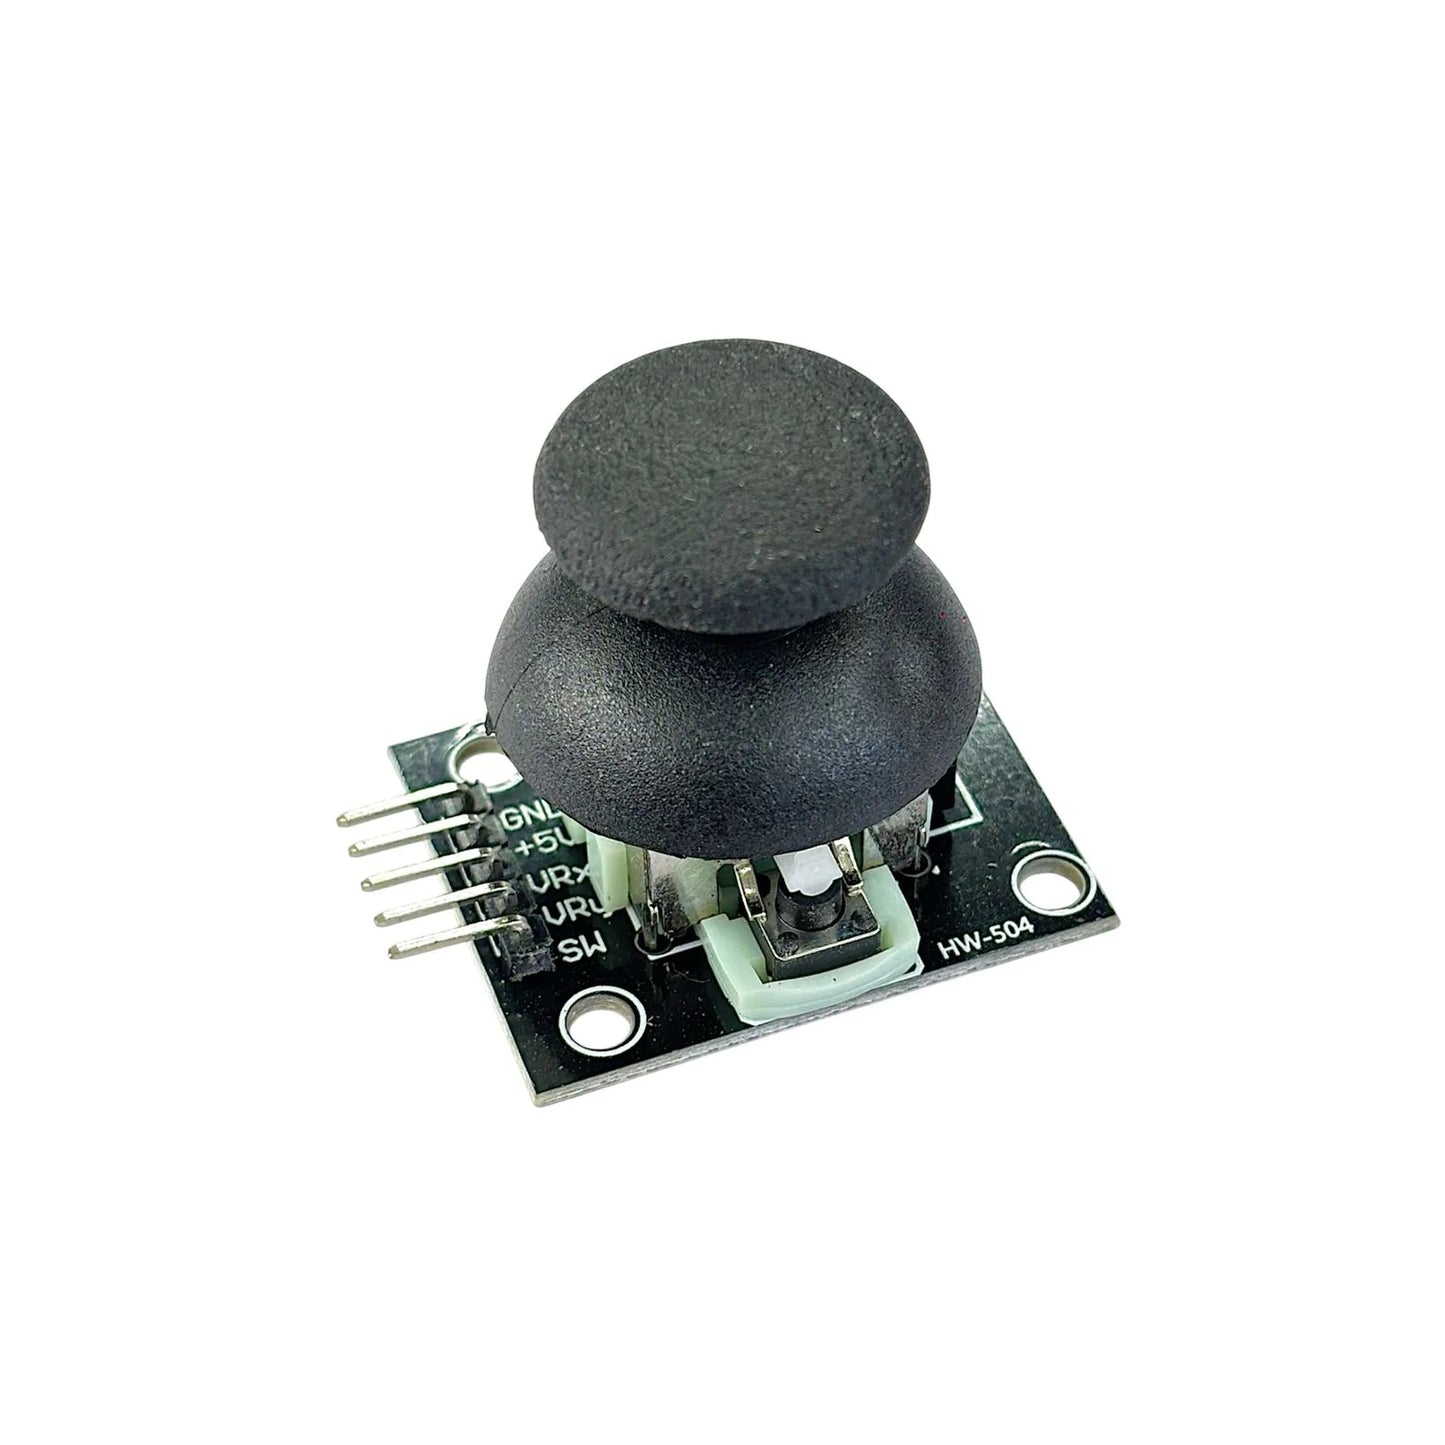
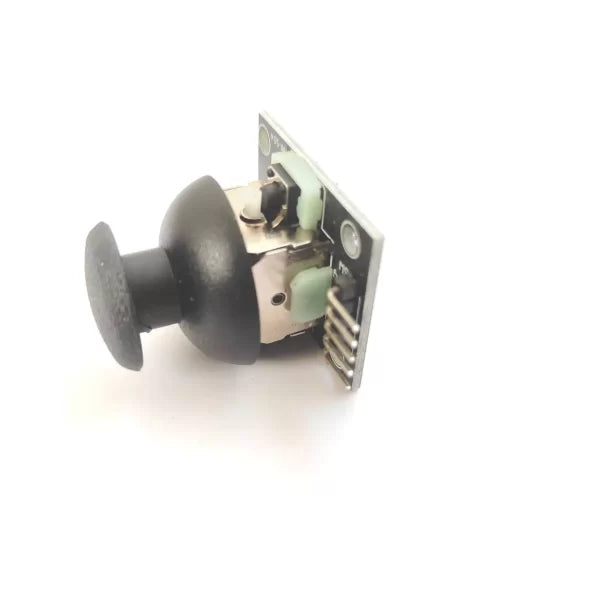
The Joystick Module Dual Axis XY for Arduino is a hardware component designed to provide analog input for controlling movements in two dimensions, typically used with Arduino microcontrollers. It consists of two potentiometers, one for each axis (X and Y), and a built-in push button. The module is commonly used in projects that require real-time control, such as robotics, gaming, and remote control applications.
Here's a breakdown of the main components and features of the joystick module:
1. Analog Potentiometers: The module contains two potentiometers, one for each axis. These potentiometers act as variable resistors, allowing you to obtain analog voltage readings corresponding to the position of the joystick along each axis. By measuring these voltages, you can determine the direction and magnitude of movement.
2. Dual Axis Control: The joystick module provides control in two dimensions, X and Y. Moving the joystick along the X-axis will produce a voltage proportional to its position along that axis. Similarly, moving it along the Y-axis will produce a voltage corresponding to the Y-axis position.
3. Push Button: The module also includes a built-in push button. This button can be used as an additional input in your project. For example, you can use it to trigger certain actions or modes when pressed.
4. Interface: The joystick module typically connects to an Arduino or other microcontrollers using analog and digital pins. The X and Y-axis potentiometers are connected to analog input pins, while the push button is connected to a digital input pin.
To use the joystick module with Arduino, you can follow these general steps:
1. Connect the module to your Arduino board using jumper wires. The X-axis potentiometer should be connected to an analog input pin, the Y-axis potentiometer to another analog input pin, and the push button to a digital input pin.
2. Write code in the Arduino IDE to read the analog values from the joystick module's potentiometers and digital input from the push button.
3. Based on the values read, you can map the joystick's position to specific actions or control parameters in your project. For example, you might move a robot based on the joystick's X and Y values.
4. Implement the necessary logic in your code to respond to the push button input, triggering actions or changing modes when the button is pressed.
By utilizing the analog readings and button input from the joystick module, you can incorporate real-time control and interactivity into your Arduino projects.


