Harish Projects
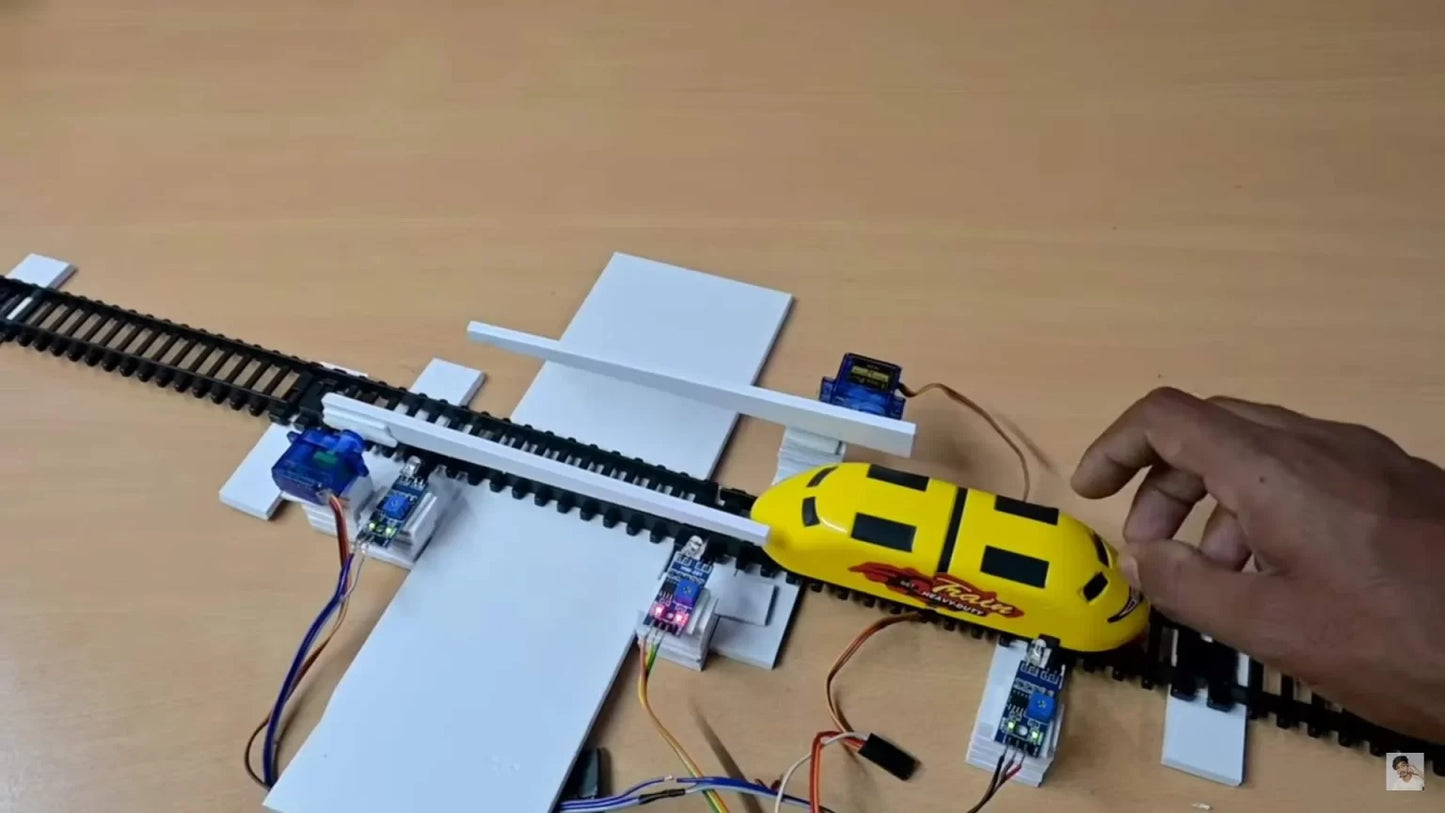
Automatic Railway Gate | Best Science Project Kit
Automatic Railway Gate | Best Science Project Kit
Couldn't load pickup availability
Share
Watch project video click on the link below
Description
Creating an automatic railway gate science project can be an interesting and educational endeavor. Here’s a simplified outline of how you can approach this project:
Objective:
Design and build a model of an automatic railway gate system that detects an approaching train and closes the gate to prevent accidents at level crossings.
1. Research and understand the working principle of level crossings and the basic components involved in an automatic railway gate system.
2. Build the gate model using cardboard or other materials. Ensure that it has a realistic design and can open and close.
3. Connect the IR sensor to the Arduino board using jumper wires. Follow the sensor’s datasheet or instructions to ensure proper wiring.
4. Connect the servo motor to the Arduino board. Again, refer to the motor’s datasheet or instructions for the correct wiring.
5. Write the Arduino code to control the gate system. Use the ultrasonic sensor to detect the distance of an approaching train. If the train is within a predefined range, close the gate by rotating the servo motor. Otherwise, keep the gate open.
6. Upload the code to the Arduino board.
7. Test the system by placing an object (representing a train) in front of the ultrasonic sensor. Observe if the gate closes when the object is within the defined range and opens when the object moves away.
8. Document your observations and results, noting any challenges or improvements that can be made.
9. Create a presentation or display board showcasing your project, including the working model, circuit diagram, code snippets, and any additional information you gathered during your research.
Remember to prioritize safety when working with electronics and always consult with a teacher, parent, or mentor if needed. Good luck with your project!


